
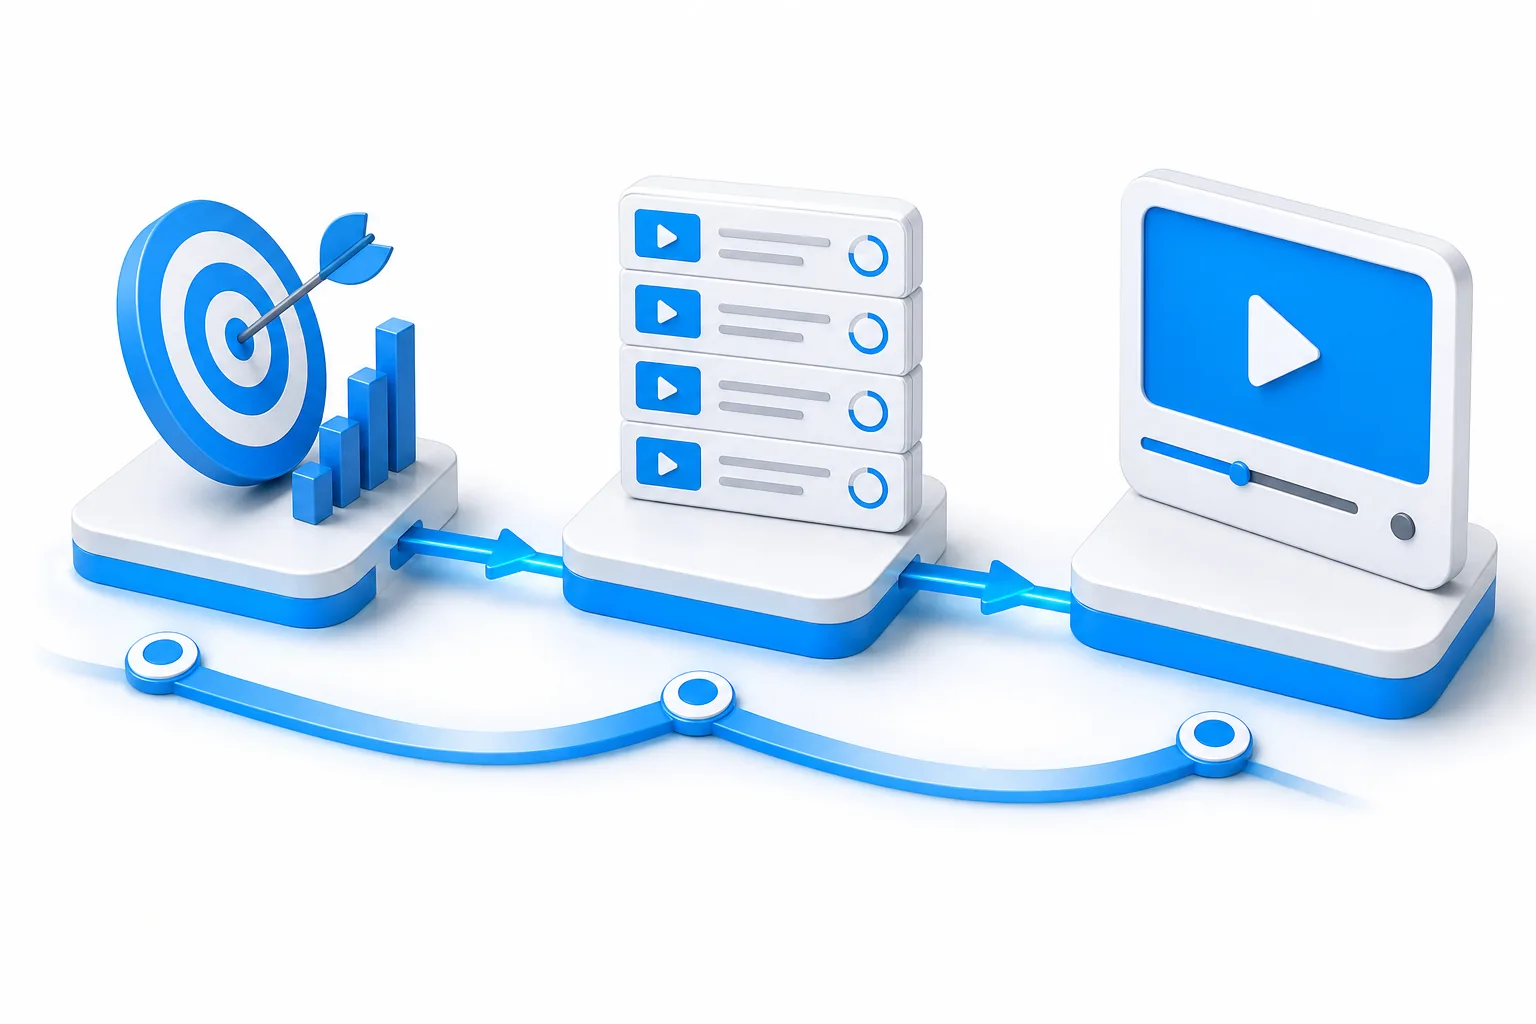
A YouTube creator course can teach you how to plan a channel, make videos, and learn from the results. The useful part comes when you turn each lesson into work you can publish, review, and improve.
We analyzed 40 comments and questions from Reddit, YouTube and Quora about YouTube creator courses and found that 42% mentioned the value of paid courses.
Use these seven steps to set a clear goal, judge a course, build a learning plan, and grow toward income without buying gear or chasing views too soon.
- Choose a channel goal you can measure through viewer actions, not just subscriber growth.
- Pick lessons that match the next task you need to do on your channel.
- Practice with the gear you have before spending money on upgrades.
- Use YouTube Studio data to decide what to change in your next video.
- Treat income as a long-term business goal, not a promise attached to a course.
Step 1: Set a Clear Goal for Your YouTube Channel
Before choosing a course, decide what your channel should help you do. A goal gives every lesson a job. Without one, it’s easy to collect tips on thumbnails or editing while avoiding the hard work of making a video for a real viewer.
Start with the person you want to reach. Write down what they’re trying to learn, fix, or decide. “People who like cooking” is broad. “New cooks who want simple weeknight meals” gives you a clearer viewer and a stronger set of video ideas.
Then choose one main outcome for the channel. You might want to teach a skill, attract clients, support an existing business, or build an audience around a topic you know well. Each goal changes what a useful video looks like. A freelancer might answer a common client question. A teacher might explain one hard idea in plain language.
Make the goal observable. “Grow my channel” is too vague to guide your next move. Try a goal such as “publish a short lesson that answers one question from my target viewer.” You can then check whether viewers found the video and whether they stayed long enough to get the answer.
Write a one-sentence channel promise: “I help [specific viewer] do [specific task] through [type of video].” Keep it simple. You can change it as you learn, but it gives you a sound starting point for your channel description and early topics.
Next, list three topic areas that fit that promise. If your channel teaches new freelancers how to find clients, the topics might include proposals, client calls, and project planning. These are content pillars: repeat themes that help viewers understand what your channel covers.
A course should help you act on this goal, not just talk about growth in general. Use YouTube to publish and manage your work. As you plan, keep the channel’s intended viewer in view. A search term is useful only when the video behind it helps that viewer.
DiSousa focuses on the skills and systems behind online income, so its course comparisons can help you judge whether a program fits your broader marketing goal. If you’re still at the channel-planning stage, use DiSousa’s beginner YouTube training guide to map the basic setup and publishing tasks.
Milestone: You should now have a target viewer, a one-sentence channel promise, and three topic areas to guide your course search.
Step 2: Check Whether the Course Fits Your Needs
A course fits when its lessons help you complete the next work your channel needs. Don’t judge it by a big promise or a long lesson list. Compare the course outline with your goal, current skill level, and time.
First, write down the task that feels hardest right now. Maybe you can’t choose a topic. Maybe you have ideas but haven’t recorded. Or you’ve published a few videos and don’t know what to change. The course should teach that task at the depth you need.
Read the curriculum in order. A beginner usually needs help with channel focus and a repeatable video process before advanced growth tactics. A creator with published videos may get more value from lessons on titles, viewer retention, or reading analytics. A course that skips your current problem may be interesting but won’t move your work forward.
Check what you’ll do during the lessons. Look for tasks that lead to an output: a topic list, a simple script, a published video, or a review of a video’s performance. If each lesson ends with more viewing rather than a task, plan how you’ll add practice before you enroll.
Also check how the course treats YouTube Courses, which are structured, multi-lesson learning experiences on a channel.
For a Course made in YouTube Studio, the workflow can start with a new Course or with an existing playlist. A lesson on this feature should show the steps clearly, then explain the content rules: it must teach something, be accessible to all ages, and include at least three videos. Courses can’t repeat videos or include videos from another channel.
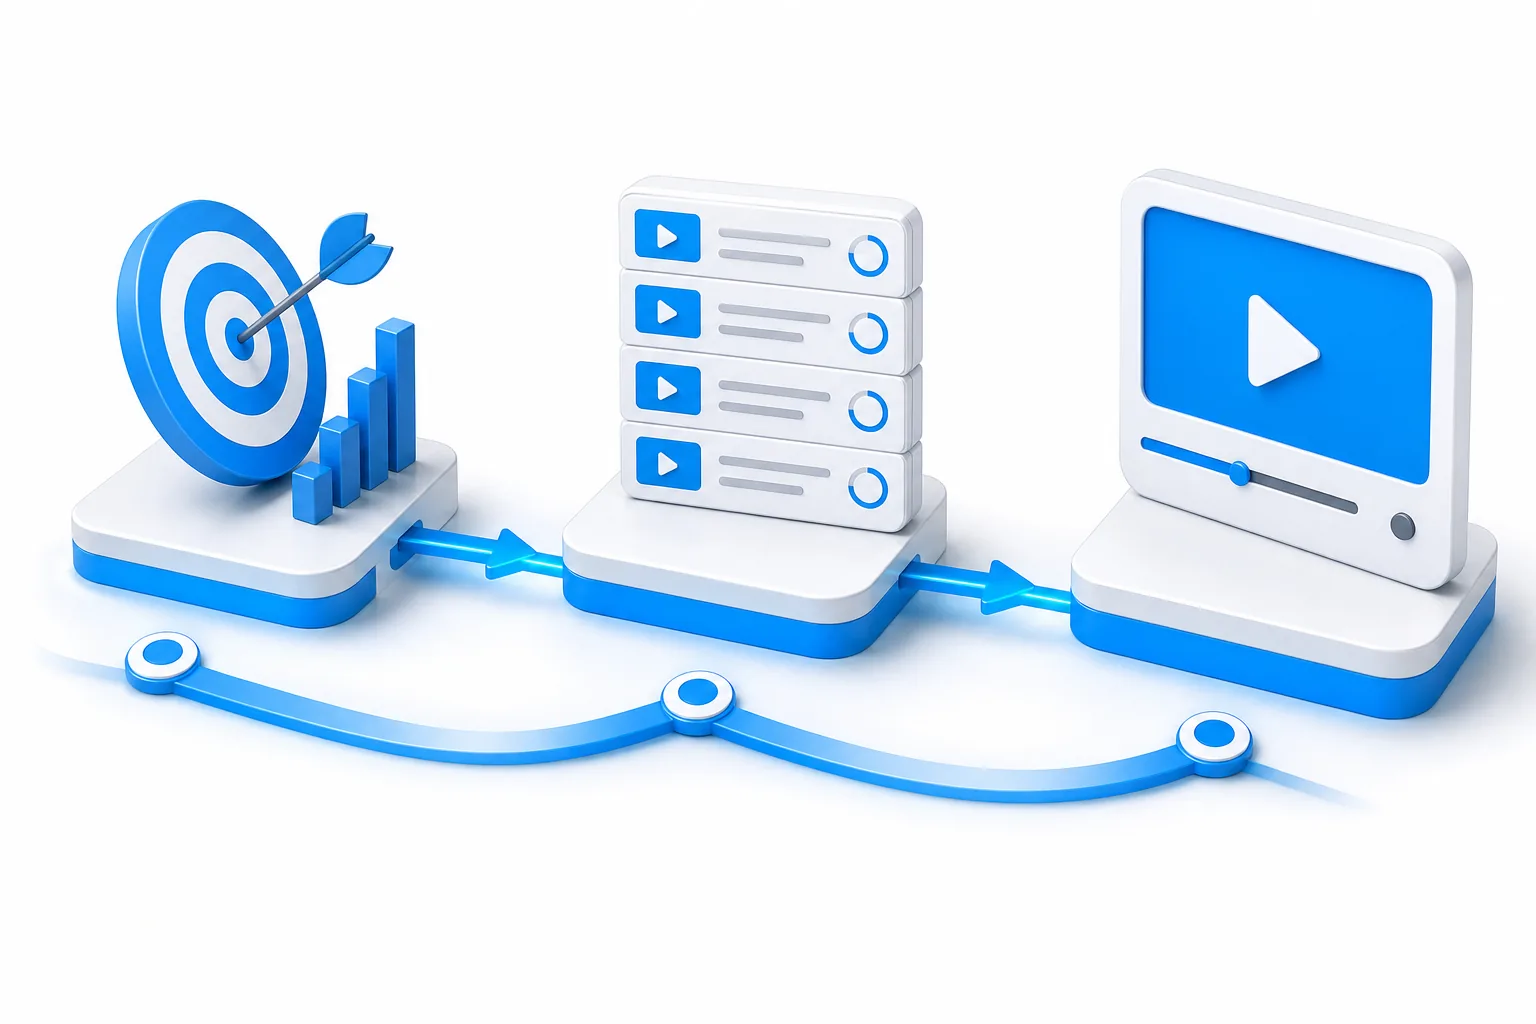
Review the course’s claims with care. A course can teach methods, but it can’t promise that viewers will find every video or that the channel will earn money. Look for clear lesson outcomes instead of guaranteed results. If income is part of your goal, see whether the course covers how the channel connects to a product, service, or audience relationship.
DiSousa publishes comparisons of digital marketing and affiliate marketing courses, along with content and email systems. That can help if your channel is one part of a wider business plan. Keep your decision narrow, though: choose training for the skill you need now, not every skill you may want someday.
Milestone: You should be able to name the skill the course teaches, the task you’ll complete, and how that task supports your channel goal.
Step 3: Turn the Lessons Into a Manageable Learning Schedule
A learning schedule works when it leaves time to apply each lesson. Set aside blocks for watching, doing, and reviewing. If your plan only includes watching, you may finish the course without making a single video.
Start with the time you can protect each week. Be honest. A schedule that fits a busy week is more useful than an ambitious plan you’ll abandon. You might reserve one block to study a lesson and another to work on the video task it covers.
Break the course into small units. After a lesson on topic selection, write down possible topics. After a lesson on video structure, outline one video. After a lesson on editing, finish a rough cut. Keep each task small enough to complete in one sitting or to resume easily.
Use a simple content calendar. It can be a paper planner or a basic spreadsheet. Give each idea a working title, a viewer question, a format, and a planned publish date. Add a status such as “idea,” “outline,” “recorded,” or “ready.” The status tells you what to do next without forcing you to rebuild the plan each week.
Make the calendar fit your production time. If a tutorial takes several hours, don’t plan a new one every day. You can batch related work instead: outline a few videos during one session, then record them later. Keep a gap for changes, since a first estimate of editing time is often wrong.
Pick a schedule you can maintain for several weeks. Consistency means building a dependable process, not posting at a punishing pace. For example, one video every two weeks may be a better start than daily uploads if each video needs research and editing.
When you study, keep a lesson log with three columns: what the lesson says, what you’ll try, and what happened. This small record keeps advice from blending together. It also gives you a way to test one change at a time rather than changing your title, opening, length, and thumbnail all at once.
Use a clear finish line for each study block. “Learn about video hooks” is hard to check off. “Write three opening lines for my next tutorial” has a result you can review. Save the unfinished work in one place so you don’t lose time searching for your notes.
If you’re learning while working or caring for others, plan for missed sessions. Move the task rather than scrapping the whole week. A schedule should help you return to the work, not make one delay feel like failure.
Milestone: You should have a weekly study block, a separate practice block, and a calendar that shows the next video’s status.
Step 4: Practice the Core Skills Before You Buy More Gear
Practice the parts of video-making that affect whether a viewer can follow your lesson before you spend on new equipment. Clear sound, steady framing, and a useful explanation matter more than a pile of gear you haven’t learned to use.
Choose one video idea and outline it in plain words. Start with the viewer’s question. Give the answer or result early, then arrange the steps in the order the viewer needs them. For a screen tutorial, show the action as you explain it. For a face-to-camera lesson, say what the viewer will learn before adding background detail.
Record a short test using the camera or phone you already own. Set the lens near eye level so you’re not looking down at the viewer. Leave a little space above your head in the frame. Look at the lens when you speak, not at your own image on the screen.
Light your face from the front or from a slight angle. A window can work if it lights you evenly and doesn’t sit behind you. Check the image before recording a full lesson. If one side of your face is dark, move closer to the light or turn your chair.
Test the sound in the room where you’ll record. Listen for fans, traffic, or echo. Speak at a steady level and keep the microphone or recording device close enough to pick up your voice clearly. A quiet room can do more for a beginner video than buying a better camera.
Make eye contact with the lens for key points. You don’t need to stare at it through every sentence. A quick glance at notes is fine, but long stretches of reading can make the lesson hard to follow. Put short prompts near the lens if you need reminders.
Keep editing simple at first. Cut long pauses and repeated explanations. Add a title card only if it helps viewers understand the topic. Watch the video once on a small screen before you publish. That can reveal text that is too small or a face that sits too far from the frame.
When a lesson mentions lighting or editing, practice the skill with a small task before moving on. Record a one-minute explanation. Trim the start and end. Then ask whether a new viewer could understand the point without hearing the rest of your planning.
If you’re deciding which editing app to learn, start with the one you can open and use without a long setup. DiSousa’s guide to video editing software for YouTube can help you compare options by workflow, rather than by a list of features you may never use.
Don’t buy gear to solve a problem you haven’t tested. If viewers can’t hear you, improve the recording setup first. If the frame feels distracting, adjust the camera. Change one thing, record again, and compare the result.
Milestone: You should have one short test video with clear speech, a steady frame, and an edit that removes anything that gets in the way.
Step 5: Publish a Useful First Video and Improve the Next One
Your first video should answer one useful question for the viewer you chose. Keep the scope small enough to finish. A focused lesson gives you a clear way to practice planning, recording, editing, and publishing.
Choose a question that fits your channel promise. If you teach new freelancers, you might explain how to prepare for a first client call. If you teach a craft, you might show one step that beginners often get wrong. Don’t try to cover an entire field in one upload.
Write a brief outline before you record. Open with the problem or outcome. Then show the main steps in order. Close by telling viewers what they can try next. A script can help if you tend to lose your place, but you don’t need to write every word if a short outline keeps you clear.
Give the video a title that says what the viewer will get. Avoid a clever line that hides the topic. Make a thumbnail that stays easy to read at a small size, with one main idea rather than several competing details.
Before publishing, check the video from a viewer’s point of view. Does the opening make the topic clear? Can you hear every key sentence? Does the title match what the video actually teaches? If you spot a problem, fix it before release when you can.
In YouTube Studio, add the title and description, choose the right audience setting, and review the video before publishing. If you’re building a Course, make sure each video teaches part of the larger lesson path. The course rules call for educational content and at least three videos, so one stand-alone video is a useful first upload but not a complete Course.
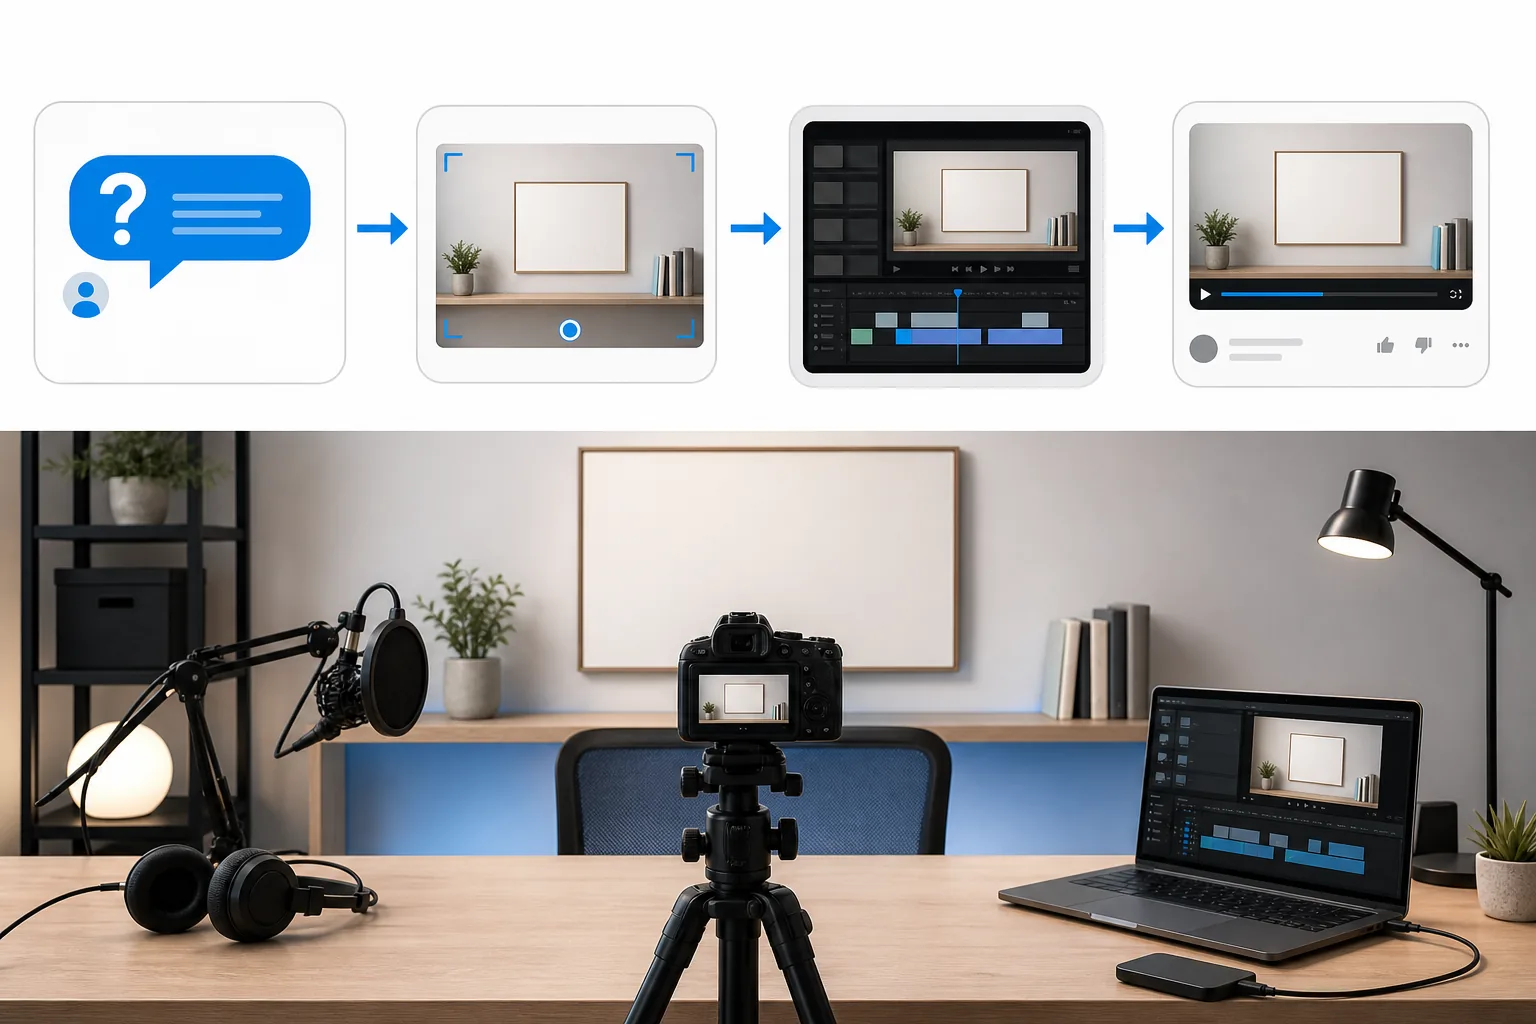
After publishing, don’t judge the video only by the first burst of views. Write down what you controlled: the topic, the opening, the title, and the length. Later, compare what happened with the question you set out to answer. That gives your next lesson a clear focus.
For topic discovery, tools such as TubeBuddy and VidIQ can help you explore search terms and ideas in your niche. Treat suggested terms as starting points, not proof that a video will succeed. Search volume alone can’t tell you whether you can make a useful answer or whether the topic fits your viewers.
A companion workflow can help you inspect what’s catching attention in a niche. For example, a research aid can help you explore videos and draft ideas. Use any research aid to sharpen your own angle, then check that your video answers the question in your voice.
Publish, then move to the next idea. You’ll learn more from a finished video and a clear review than from endlessly polishing an upload that never leaves your drafts.
Milestone: You should have one published video and one specific question to investigate before making the next one.
Step 6: Use Video Performance Data to Decide What to Improve
Performance data helps you see how people found and watched your videos. Use it to choose one change for the next upload, not to chase every number at once.
Open YouTube Studio and select the video you want to review. Start with the basic questions: Did viewers find it through search or another path? Did they click after seeing the title and thumbnail? Did they stay through the opening? Each answer points to a different part of your process.
Impressions show when YouTube displayed a video thumbnail to viewers on eligible surfaces. Click-through rate gives context on how often those impressions led to views. Neither metric should be read alone. A low click rate may point to a title or thumbnail issue, but the video topic and audience also shape who sees it.
Look at average view duration and the audience retention graph to see where viewers leave. If many viewers stop early, check whether the opening takes too long to reach the answer. If a drop happens during one explanation, the section may need a clearer example or a tighter edit.
Compare videos that serve a similar viewer and topic. A tutorial and a casual update may attract different viewing habits, so a direct comparison can mislead you. Instead, look for repeated patterns among videos with a similar purpose.
Pick one change for the next upload. If the opening seems slow, put the key point earlier. If the title promises a result the video doesn’t reach, revise the outline so the content matches. If viewers leave during a long demonstration, add a spoken cue before the next step.
Keep a short review note after each upload. Include the video’s goal, the part that worked, the point that lost viewers, and the change you’ll test next. That note turns analytics into a learning loop. It also stops you from making five changes at once and losing track of what helped.
For a YouTube Course, Studio’s Course analytics can show views, watch time, audience information, and more. Look at the full learning path as well as each lesson. If viewers start a series but do not continue, review the lesson order and the handoff between videos. Make the next lesson’s purpose easy to understand.
Don’t use one video’s numbers as a verdict on your skill. A new channel has little history to compare against. Focus on whether you’re learning to make the next video clearer for the same kind of viewer.
DiSousa also compares measurement tools for creators. If you need a broader view of measurement options, use its creator measurement tools guide to think through what you need to track before adding another dashboard.
Milestone: You should know which part of your next video to focus on.
Step 7: Build a Sustainable Channel and Treat Monetization Realistically
A sustainable channel has a repeatable way to make useful videos and a clear plan for how the work may support your income. Monetization can take time, and a course can’t promise a result. Build the audience and the business path as related but separate tasks.
Start by deciding what income could make sense for your topic. Some creators may earn through platform features when eligible. Others may use affiliate links, sponsorships, their own products, or services. The right route depends on what viewers need and what you can provide honestly.
Keep the viewer’s trust at the center. If you recommend a product through an affiliate link, make the relationship clear. If a video promotes your service, say what the service does and who it is for. Don’t let a sales message replace the lesson the viewer came to watch.
Build a route from video to next step. A video can answer a question, then point viewers to a related lesson or a useful resource. If you teach a skill, a workbook can help viewers practice after watching. A community space can support questions and peer discussion, but only start one if you can take part and set clear expectations.
For a Course in YouTube Studio, arrange the lessons so each one prepares viewers for the next. The Course features include progress tracking, discussion, and completion badges. Keep the lesson order meaningful. A badge should mark learning activity, not make a claim that viewers gained a formal qualification.
Check every Course video against YouTube’s requirements before setting it up. The content must teach something and remain accessible to all ages. It needs at least three videos, with no repeated videos and no videos from another channel. It must also follow Community Guidelines. If a video is age-restricted, it won’t meet the course’s all-ages requirement.
Don’t build a Course only because the feature exists. First check whether viewers would benefit from a sequence. A collection of separate tips may work better as a playlist. A course structure makes sense when viewers need lessons in an order and can track their progress.
Make the workload sustainable. Set a publishing pace you can keep while handling research and editing. If one upload takes longer than expected, adjust the next date rather than rushing out a weak lesson. A steady process gives you space to learn from each release.
DiSousa’s focus on marketing education and the systems that turn traffic into paying clients fits creators who want to connect video with a wider online business. For income planning, its guide to monetizing a YouTube channel can help you review possible paths while keeping your audience and offer in mind.
Track business signals that match your goal. If your channel supports a service, ask whether viewers take the next step you’ve clearly offered. If you want to teach, watch whether people continue through the lesson sequence. Views can show reach, but they don’t tell the whole business story.
Milestone: You should have a publishing pace you can maintain, a clear next step for viewers, and an income path that fits your content.
Frequently Asked Questions
What should I look for in a YouTube creator course?
Look for lessons that match the next task your channel needs. A useful course explains what you’ll learn, gives you work to apply, and helps you review the result. Check whether it covers your current stage, such as choosing topics or reading analytics. Treat promises of guaranteed views or income with care.
Can I create a YouTube Course in YouTube Studio?
Yes, you can create a Course in YouTube Studio or convert an existing playlist into one. A Course must teach something, be accessible to all ages, and include at least three videos. It can’t repeat videos or include videos from another channel. You can edit course details and view course analytics in Studio.
How many videos do I need for a YouTube Course?
A YouTube Course needs at least three videos. The videos should work together as an educational sequence, rather than repeat the same material. Plan the order before you add them, so each lesson gives viewers a clear next step. A single helpful video can still be published on its own, but it isn’t a complete Course.
Do I need expensive equipment to start a YouTube channel?
No, you can begin with the recording gear you already have. Focus first on clear sound, steady framing, and enough light to see your face or demonstration. Make a short test video and review it on a small screen. Upgrade only when you can name a specific problem your current setup can’t solve.
How do I know what to improve after posting a video?
Use your available channel performance data to look at how viewers found the video and where they stopped watching. Choose one issue to address in your next upload. For example, if viewers leave during a long opening, move the answer earlier. Compare videos with similar topics and goals so you’re not treating unlike content as a fair test.
Conclusion
Choose training that helps you finish the next task on your channel, then apply the lesson before moving on. Start by writing your channel promise and picking one viewer question for your first video. DiSousa can help you compare training and think through the marketing systems around your channel, but the next useful step is yours: publish one clear lesson and learn from it.
Income disclaimer: YouTube income is not guaranteed. Results depend on many factors, including your content, audience, offers, and eligibility for platform monetization features.
