
YouTube training works best when you use it as a sequence, not a pile of tips. Start with one audience, test video ideas before filming, then build a repeatable system for publishing and review.
I’m Antonio, and DiSousa helps online marketers turn content into traffic, leads, and income. This guide gives you the same working order I’d use with a new channel, while pointing out where paid training can leave out key details.
Step 1: Set Up a YouTube Channel Around One Clear Audience
Good YouTube training begins with a clear answer to one question: who is this channel for?
Write down the person you want to reach and the problem they want solved. Keep it narrow at first. “People who want to make money online” is too broad. “Freelancers who want more leads through video” gives you a better starting point.
Next, write a one-line channel promise. Use this format:
I help [audience] get [outcome] through [type of video].
For example, you might help new affiliate marketers find ethical ways to earn online through screen-share tutorials. That sentence can guide your channel name, banner, About page, and first ten video ideas.
Create the channel with a name that people can recall after one viewing. Add a clear profile image. Your banner should explain the topic without making readers squint. Keep the About section plain. Say who you help, what you teach, and what viewers can expect next.
You don’t need a perfect niche before your first upload. Early videos help you learn what you enjoy making and what viewers choose to watch. Still, each video should fit the same broad promise. A viewer who finds one useful tutorial should know what the next video is likely to help with.
Before you publish, check the basic channel settings. Add a handle, set upload defaults, and review audience settings. YouTube’s own learning hub is a useful place to confirm current channel and creator features, so use the official YouTube creator resource rather than relying on an old checklist.
Set up a simple folder system before your first shoot:
- Ideas and research
- Scripts and outlines
- Raw video and audio
- Edits and finished exports
- Thumbnail files
This sounds small. It prevents a common mess later, when one missing file delays an upload by a day.
A channel can serve a business, a personal brand, or a hobby. Decide which one you’re building. That choice affects your calls to action, your topics, and the amount of time you’re willing to commit.
By now, you should have a channel promise, a basic profile, and a folder system. Don’t spend another week changing the banner. Move to the work viewers can judge: your content.
Step 2: Build a Content Strategy and Publishing Schedule You Can Maintain
Your YouTube training plan needs two parts: a list of useful topics and a publishing rhythm you can keep when work gets busy.
Start with questions your audience already asks. Search YouTube for the problem, then study the results. Look at the wording in titles. Notice which subjects appear more than once. Read comments for follow-up questions. This gives you a demand map without guessing what people want.
AI can help you group ideas, but it shouldn’t decide what deserves a video. Ask it to sort a list into themes or suggest questions around a known problem. Then check those ideas on YouTube yourself. A polished idea with no clear viewer need still wastes your filming time.
Use three content roles:
- Search videos: answer a clear question people type into YouTube.
- Browse videos: present a useful idea through a strong topic and thumbnail.
- Trust videos: show your process, answer objections, or explain a lesson from your work.
These roles can overlap. A video titled “How to Plan Your First Affiliate Marketing Video” may win search traffic while also building trust with beginners.
Now choose your schedule. One useful video each week beats three rushed uploads followed by a month of silence. Pick a day for research, a block for filming, and another block for editing. If you work alone, record several intros or screen demonstrations in one sitting.
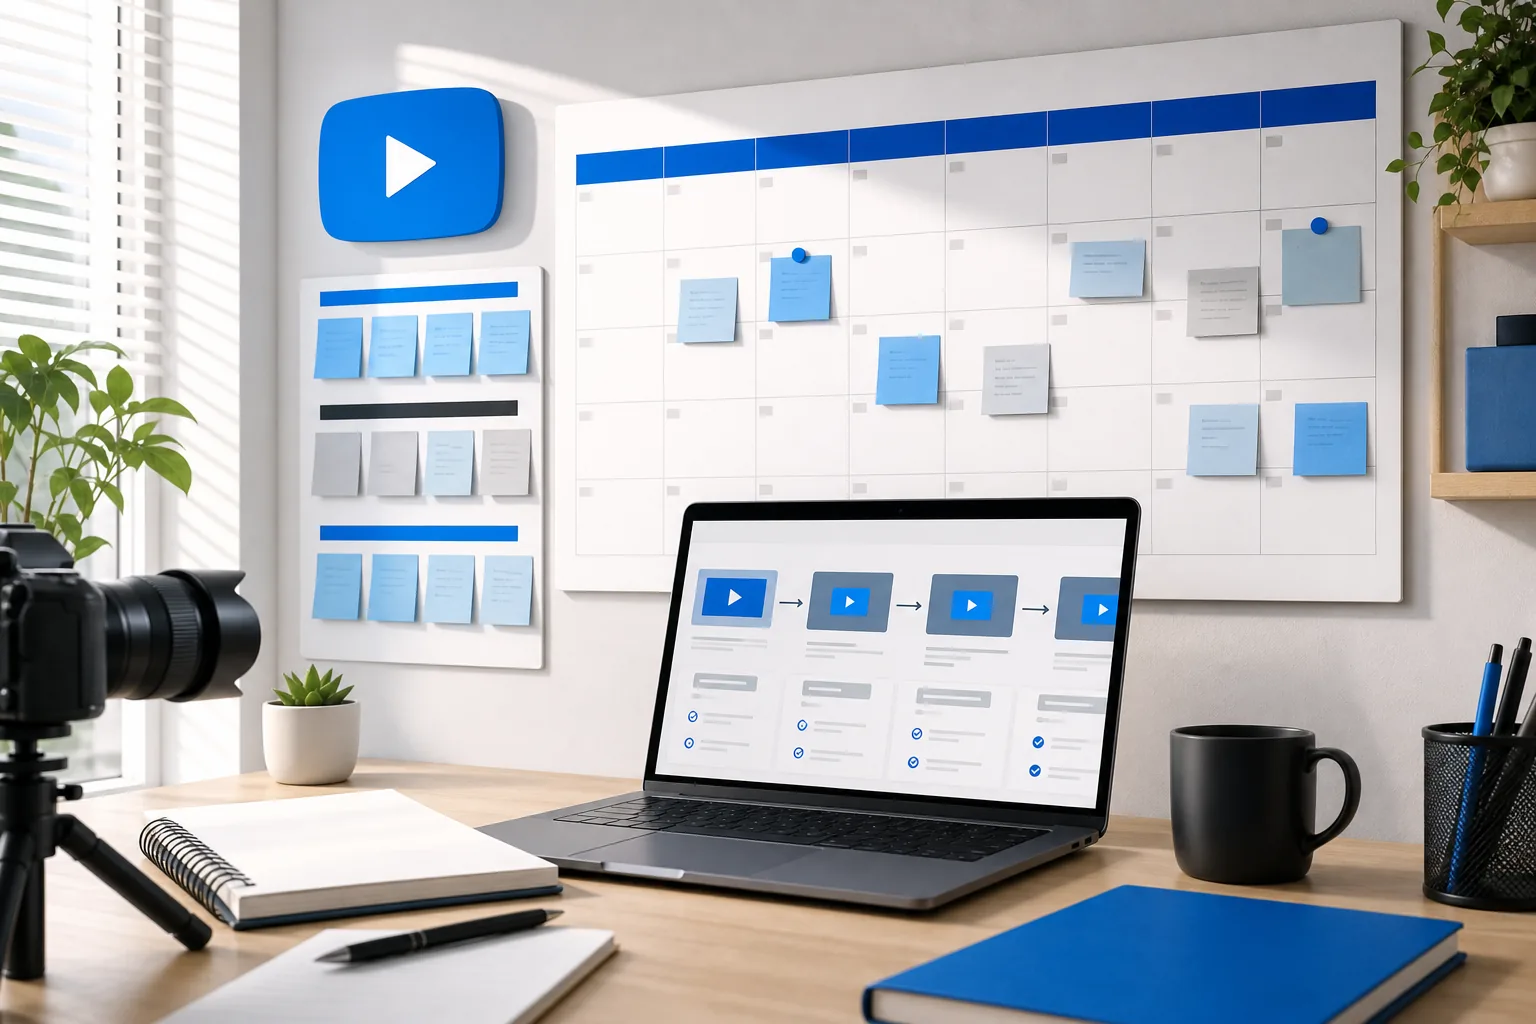
Make a small content board with these columns:
- Idea
- Viewer problem
- Proof of demand
- Working title
- Script status
- Thumbnail status
- Publish date
Give each idea a clear next action. “Research video” is vague. “Review five search results and collect repeated questions” tells you what to do.
YouTube’s own training resources can help you check current publishing features and creator guidance. Start with the official YouTube learning area, then test advice against your own analytics instead of treating any rule as permanent.
Some paid training claims to be extensive while giving little detail about format, support, or time. Pricing, tools, and best-fit audience details were not disclosed. That gap matters. Ask what you will receive before you pay.
DiSousa’s course comparisons take the same buyer-first view. The YouTube marketing course comparison is useful when you want to compare strategy, SEO, analytics, and audience growth instead of buying based on a bold course title.
By now, you should have at least ten ideas and a schedule that fits your week. Your next job is to make each video with less friction.
Step 3: Follow a Repeatable Filming and Editing Workflow
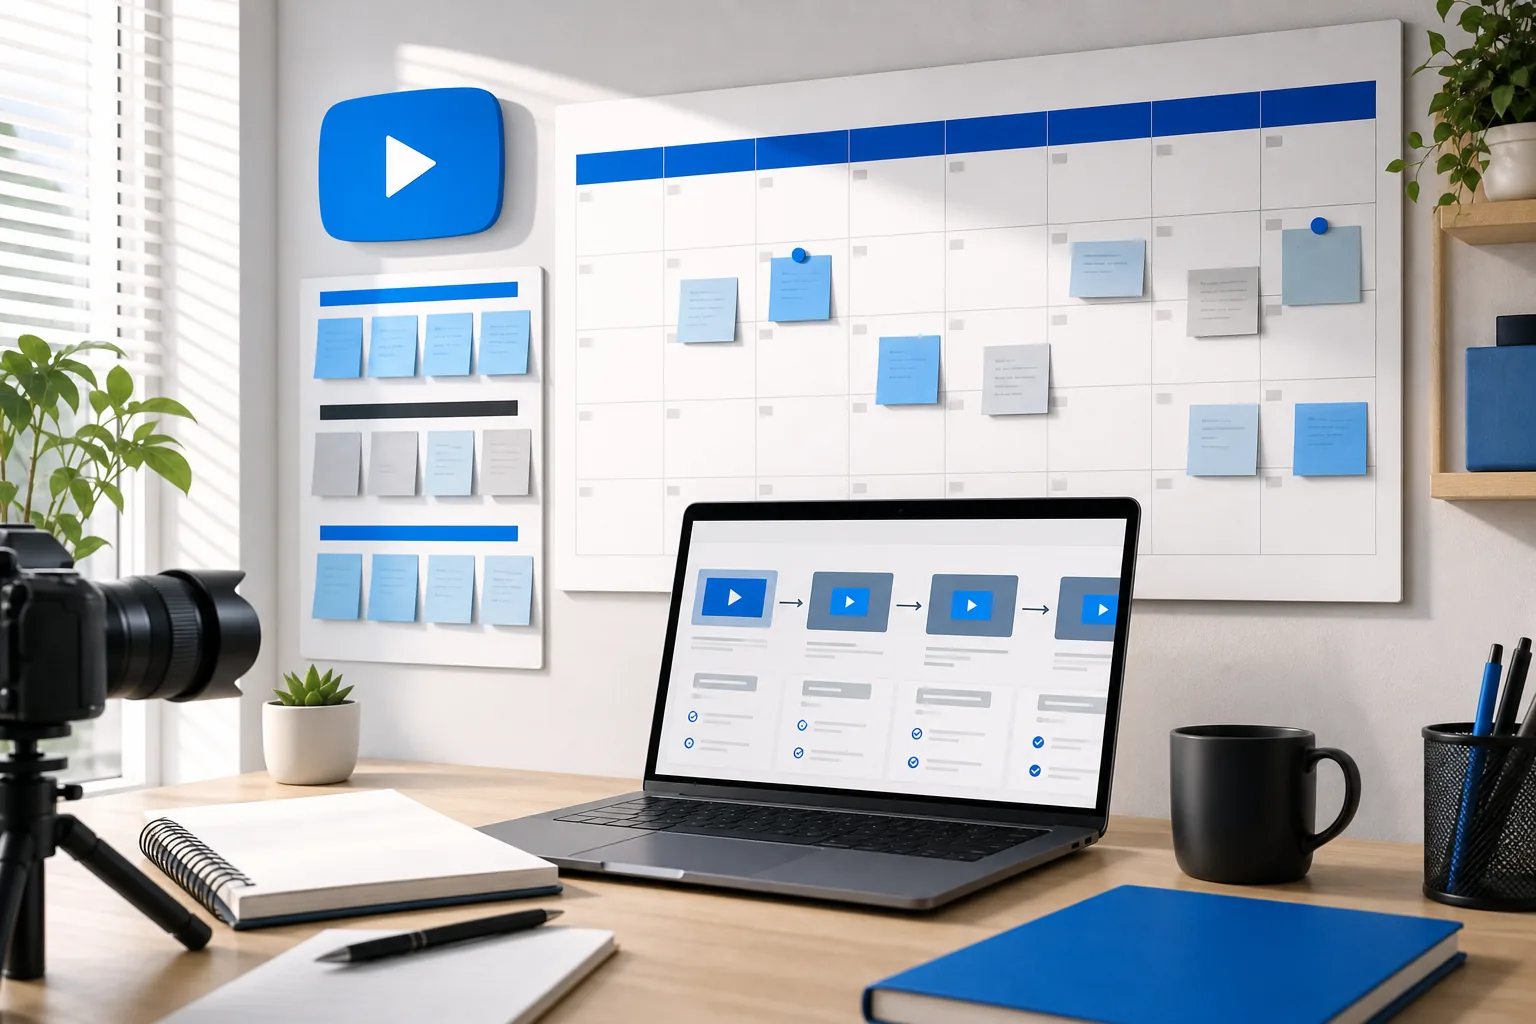
A repeatable workflow makes YouTube training useful because it turns knowledge into finished videos.
Start with a short outline. State the problem in the first few seconds. Tell viewers what they’ll learn. Then move through the steps in the order they need them. Don’t write a ten-page script for a five-minute tutorial.
For a simple teaching video, use this structure:
- Open with the viewer’s problem.
- Show the result or explain the target.
- Teach the process in clear sections.
- Point out one common mistake.
- Give the next action.
Record clean audio before you worry about cinema-quality video. A quiet room often matters more than a costly camera. Put the camera at eye level. Face a window or use a soft light in front of you. Remove anything in the background that pulls attention away from the lesson.
Record in short sections. If you make a mistake, pause and repeat the sentence. That makes editing faster than restarting every take.
For screen tutorials, prepare the file or site before recording. Close unrelated tabs. Increase text size so viewers can read it on a phone. Move the cursor with purpose. A viewer should never wonder where to look.
Build an editing template with the same intro length, text style, music level, and outro position. Templates reduce small decisions. They also make it easier to hand work to an editor later.
Cut dead air first. Then remove repeated points. Add text only when it helps the viewer follow a process. Captions can help people watching without sound, but review automatic captions for errors before publishing.
AI tools can help with transcripts, rough cuts, idea sorting, and thumbnail drafts. Keep the final judgment with you. AI may remove a pause that gives a viewer time to understand a hard step. It may also suggest a title that promises more than the video delivers.
Keep a version of the raw files. Save the project file after major edits. Export a final copy with a clear name that includes the topic and date. These habits help when you need to correct a link or cut a phrase later.
If editing feels like the main barrier, compare software by workflow rather than by the number of features. DiSousa’s guide to video editing software for YouTube is a useful next step when you need to weigh beginner tools against more advanced editors.
By now, you should have one edited video with a clear opening, a clean lesson, and a direct next step. Now package it so the right viewer wants to click.
This video supports the workflow section by showing how a creator can break the work into repeatable parts. Watch it for the process, then adapt the order to your own filming setup.
Step 4: Optimize Titles, Thumbnails, and Descriptions for YouTube Search
YouTube SEO starts with a topic people already care about, then turns that topic into a clear promise.
Write the title before you finish the edit. It forces you to state the main outcome. A weak title describes your activity. A stronger title describes the viewer’s gain. “My Sunday Content Routine” is about you. “How to Plan Seven YouTube Videos in One Hour” gives the viewer a task and a result, if the video truly supports that promise.
Keep the key idea near the front of the title. Avoid stuffing several terms into one line. Use words your audience would say out loud. Search language can help, but curiosity matters too. A title needs to explain enough for the viewer to trust the click.
Your thumbnail has one job: help the right person understand the video at a glance. Use one main visual idea. Keep text short. Make the subject large enough to read on a small screen. Don’t repeat the full title in tiny type.
Title and thumbnail should work as a pair. The title can state the task while the thumbnail shows the obstacle. For example, the title may promise a publishing plan, while the thumbnail shows a crowded calendar being reduced to one clear week.
Never promise a result the video cannot support. A high click rate followed by a quick exit tells you the package and lesson do not match. That can damage trust with the viewer who clicked.
Write a description that helps a person act. Put the main answer near the top. Add useful chapter labels if the video is long. Include relevant links only when they support the lesson. Avoid dumping a list of keywords into the description.
Use a few related phrases naturally in your spoken words and on-screen text. YouTube can understand the subject through the whole video, not only through the title. Say the question clearly near the start so viewers know they found the right lesson.
Review tags only after the main work is done. Tags won’t fix a vague topic, weak opening, or confusing thumbnail. Spend your time where a viewer makes the decision to watch.
Before publishing, ask three people who match your audience to explain what they think the video will teach. If they give three different answers, revise the title or thumbnail.
By now, you should have a title, thumbnail, and description that describe the same viewer outcome. The next step is to publish without treating upload day as the finish line.
Step 5: Publish, Engage, and Build a Real YouTube Community
Publishing is the start of the feedback loop in YouTube training, not the final task.
Upload the video, check the title and thumbnail on mobile, and watch the first minute before sharing it. Confirm that the audio is clear. Test every link in the description. Check captions for obvious errors. A rushed upload can make a good lesson look careless.
Choose a publish time you can repeat. The exact hour matters less than having enough time to be present after the video goes live. Reply to early comments. Ask a focused follow-up question instead of writing the same “thanks” to everyone.
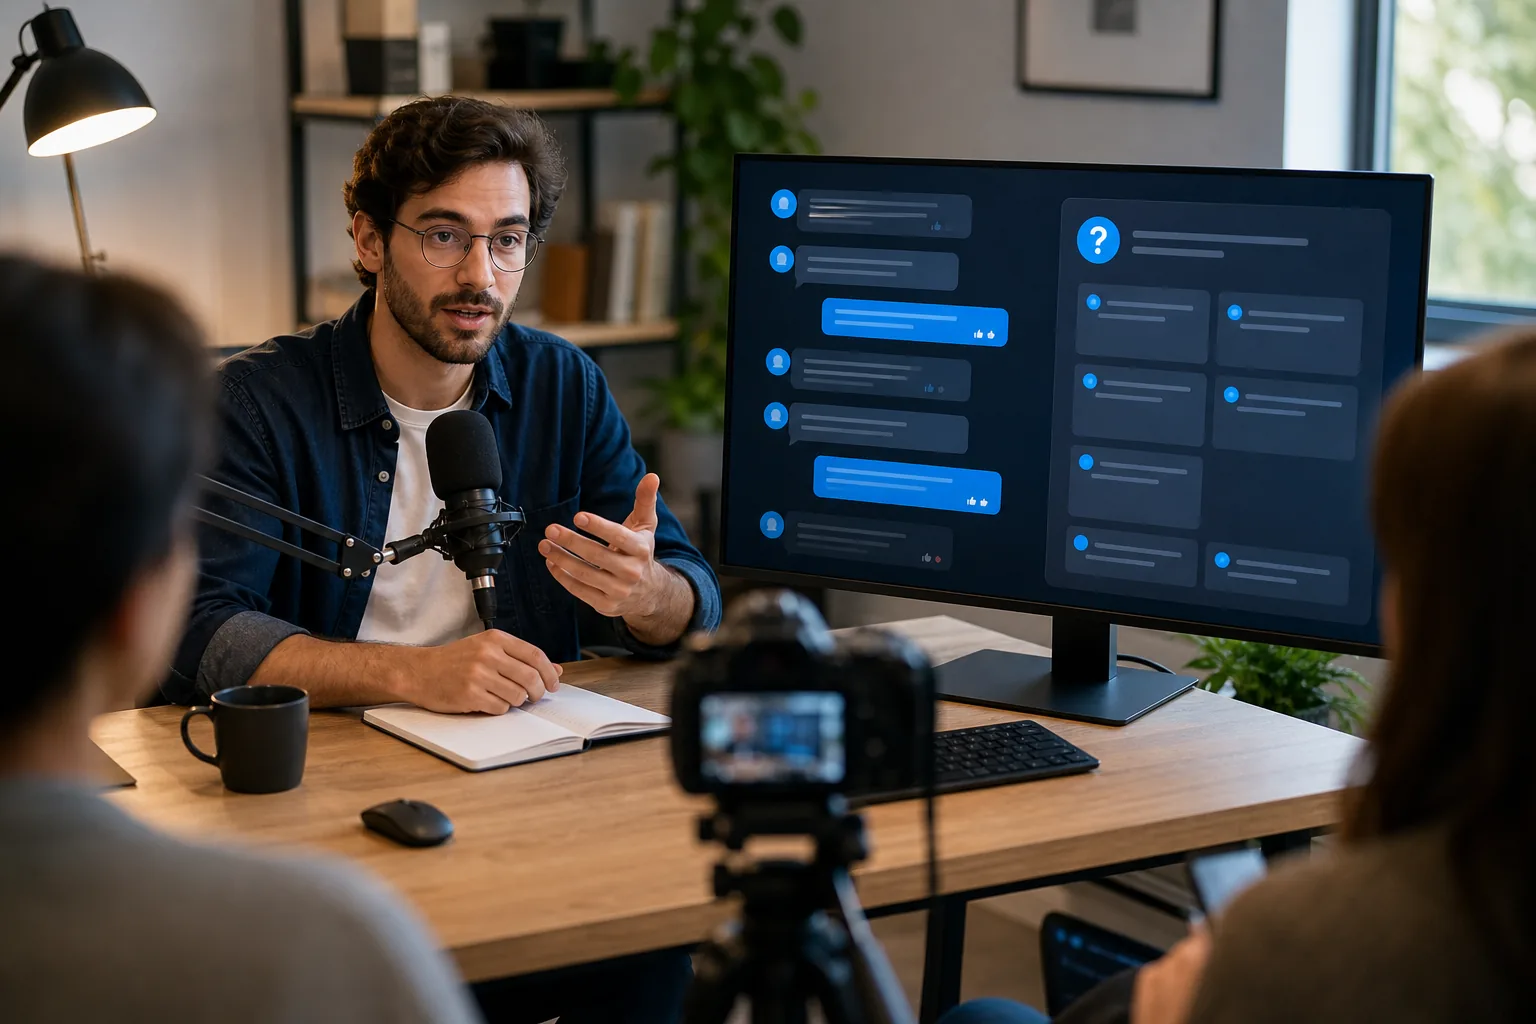
Comments can become your next content plan. Keep a note of questions that appear more than once. If a viewer says a step was hard to follow, decide whether to add a clarification, make a short follow-up, or change the main video format.
Live streams can deepen the relationship because viewers can ask questions while you work. Start with a small purpose. Demonstrate one task, review a submitted example, or answer questions about one topic. A quiet first stream is normal. Prepare enough material to continue even if chat is slow.
Member-only content can work when it gives members a clear reason to return. That might be a private review, a monthly workshop, or early access. Don’t promise support you can’t maintain. A simple benefit delivered each month is better than a large promise that fades.
Use the Community area when it fits your channel. Ask viewers to choose between two topics. Share a short lesson. Point people to a new video with a reason to watch it. Avoid turning every post into a sales pitch.
Moderation is part of the work. Remove spam. Set clear rules. Don’t reward abusive comments with long arguments. If your channel attracts clients, keep private customer details out of public replies.
Build a path beyond YouTube when you have a useful reason. An email list lets you share a checklist or lesson directly with people who want it. Keep the offer honest. A free download should help on its own, not hide the real answer behind a form.
DiSousa focuses on the systems behind traffic and client growth, including email and content workflows. That wider view matters when your channel goal is a business rather than views alone.
Measure community health through the quality of questions, repeat viewers, and useful conversations. A large comment count isn’t the only sign that a channel is working. The better question is whether viewers return with sharper questions and take the next step.
Step 6: Read YouTube Analytics and Improve One Variable at a Time
YouTube Analytics tells you where a video loses attention and which topics bring the right viewers.
Open your analytics dashboard and review the video after it has had enough time to collect useful data. Don’t change five things at once. If you change the title, thumbnail, opening, and topic together, you won’t know what caused the result.
Start with impressions click-through rate, or CTR. CTR shows the share of people who clicked after seeing the thumbnail. A low figure can point to weak packaging. A strong CTR with poor retention can point to a promise the video fails to keep.
Next, study audience retention. Look for the first sharp drop. Did viewers leave during a long greeting? Did the screen become hard to read? Did you explain the result too late? Write down one likely cause and test it in the next video.
Average percentage viewed can help you compare videos of similar length. Don’t treat one target as a law for every topic. A detailed tutorial may need more time than a quick answer. Compare your videos with your own past work.
Check traffic sources. Search traffic tells you that wording and topic fit a query. Suggested and browse traffic show that YouTube is placing the video near other viewing sessions. Each source calls for a different lesson.
Look at subscribers gained by video. Some videos bring views but few subscribers. Others attract fewer viewers who are a much better fit. For a business channel, that second group may have more value.
Review new and returning viewers. New viewers show reach. Returning viewers show that your channel gave people a reason to come back. You can see these patterns in your analytics dashboard, while the vidIQ explanation of YouTube analytics metrics gives a clear example of how CTR, retention, traffic sources, and subscriber growth fit together.
Use a weekly review sheet with five lines:
- Best topic
- Best opening
- Largest retention drop
- Most useful comment
- One test for next week
For example, if viewers leave when a tutorial begins with a long personal story, shorten the story in the next upload. Keep the topic and thumbnail style similar. That gives your test a fair chance.
By now, you should know what to keep, what to change, and what to test next. Growth comes from repeated review, not from refreshing the dashboard every hour.
Step 7: Choose Ethical Monetization Methods and the Right Training Resources
Monetization should follow audience trust and a clear business model, not lead the channel before the content is useful.
Advertising is one possible income source, but it isn’t the only one. A channel can support affiliate marketing, digital products, services, sponsorships, memberships, or a paid community. Choose the model that matches what viewers already ask you to help with.
Affiliate marketing means you earn a commission when someone buys through your tracked link. Disclose the relationship. Recommend only tools or products you can explain fairly. A short-term commission isn’t worth losing trust with a viewer who followed your advice.
Services can work well for channels that teach a professional skill. A freelancer might use tutorials to show how they solve a defined problem. The video should help the viewer even if they never become a client. Make the next step clear without pushing it into every sentence.
Digital products can package a repeatable process. A template, course, or paid workshop should add structure, examples, or support. Don’t sell a list of public facts as if it were private expertise.
Sponsorships need a clear fit. Tell viewers when a sponsor paid for placement. Explain the product in your own words. Avoid claims you cannot verify. If the sponsor wants you to hide a weakness, decline the deal.
When you assess paid YouTube training, ask these questions:
- How many hours of instruction are included?
- Is the format video, written lessons, coaching, or a live call?
- Can you see the syllabus before purchase?
- What support is included?
- Are tools or integrations named clearly?
- What type of creator is the training built for?
Research for this topic found that the listed options split between one-hour live consultation, one-on-one coaching, and a written 30-day guide. The same source did not disclose pricing, integrations, or best-fit audiences for those options. A long program name does not prove deep instruction. Ask for the actual format and time commitment.
DiSousa is a useful starting point if you want to compare online marketing education with a focus on systems, affiliate marketing, email, and client growth. Choose training that helps you finish work, not training that leaves you with another folder of lessons.
Use free resources first when you’re still testing your channel idea. Pay for support when you have a specific problem, such as weak packaging, poor retention, or a publishing system you can’t maintain.
The right training should leave you with an action plan you can use this week. If it only gives you motivation, keep looking.
Frequently Asked Questions About YouTube Training
What is the best YouTube training for beginners?
The best YouTube training for beginners gives you a clear process for choosing topics, making videos, reading analytics, and improving your next upload. Free lessons can cover the basics. Paid coaching may help when you need personal feedback. Before paying, check the format, time included, support level, and audience fit.
How long does it take to learn YouTube?
You can learn the basic upload process in a short session, but useful YouTube training takes repeated practice. You need time to plan topics, film, edit, publish, and review results. Treat your first group of videos as practice. Focus on learning one skill at a time rather than expecting instant growth.
Can I learn YouTube without paying for a course?
Yes, you can learn YouTube without paying for a course. Official creator resources, your own channel data, and careful study of successful videos can teach the core workflow. Paid training may save time when it includes feedback or accountability. It should still state what you receive before asking for payment.
What should a YouTube training course include?
A useful YouTube training course should include topic research, scripting, filming, editing, titles, thumbnails, analytics, and monetization rules. It should also state its format and support. A written guide, a one-hour consultation, and one-on-one coaching are different products, so compare the actual delivery method rather than the name.
How do I grow a YouTube channel from zero?
You grow a YouTube channel from zero by serving one clear audience and publishing useful videos on a schedule you can keep. Study viewer questions before filming. Then review retention, click-through rate, traffic sources, and subscribers gained. Improve one variable in the next upload. Growth comes from that loop, not from one secret tactic.
Conclusion
Start with one audience and one useful promise. Publish on a schedule that fits your life, then use YouTube Analytics to improve the next video instead of chasing every new tactic. If you want structured help, compare the format and support before buying training. Your next action is simple: write ten audience questions and choose one to turn into your first upload.
Income disclaimer: YouTube income is not guaranteed. Results depend on your topic, skills, audience, consistency, offers, platform rules, and many other factors. Any examples or income methods discussed are educational only and should not be treated as a promise of earnings.
